Step 1:
Initial Consultation & Site Assessment
The first step is scheduling a consultation with our retaining wall experts. They will discuss your needs and concerns — whether you're aiming to prevent erosion, create level ground for landscaping, or simply enhance the aesthetic appeal of your yard. They will also visit your property to assess the site conditions, such as the slope of your yard, soil type, drainage patterns, and any existing structures.
Estimated time: 1–2 weeks

Step 2:
Design & Planning
Our team can create a retaining wall design based on your goals and the site assessment, including the most effective type of wall construction, dimensions, and materials. Due to Bay Area weather and soil conditions, professional design and planning are crucial for ensuring the durability of your wall.
Estimated time: 1–2 weeks

Step 3:
Permits & Approvals
Our team of experts can handle this complex step to ensure that your project meets local zoning and environmental regulations and complies with local building codes. In California, retaining walls typically require a building permit if it exceeds a certain height, will be placed near property boundaries, and other restrictions. The permitting process involves submitting the design plan to the local authority, and there may be a brief waiting period for approval .
Estimated time: Varies
Step 4:
Excavation & Site Preparation
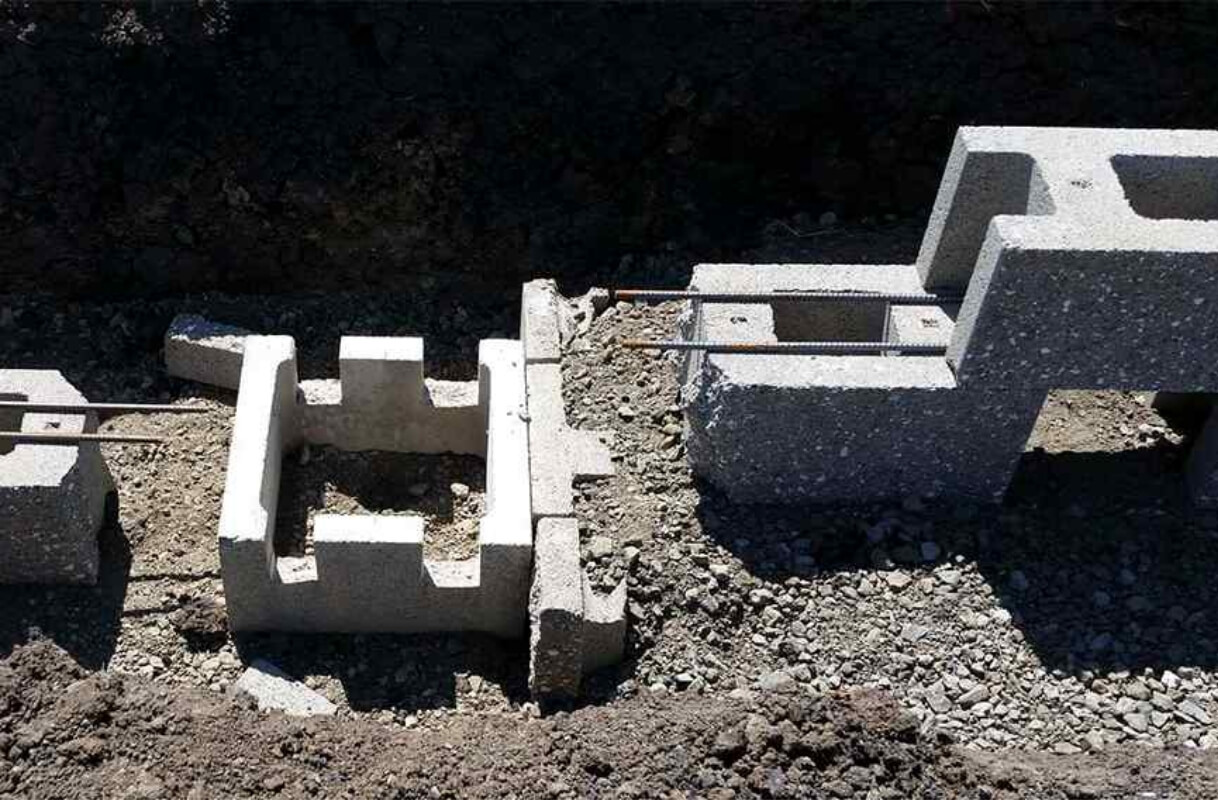
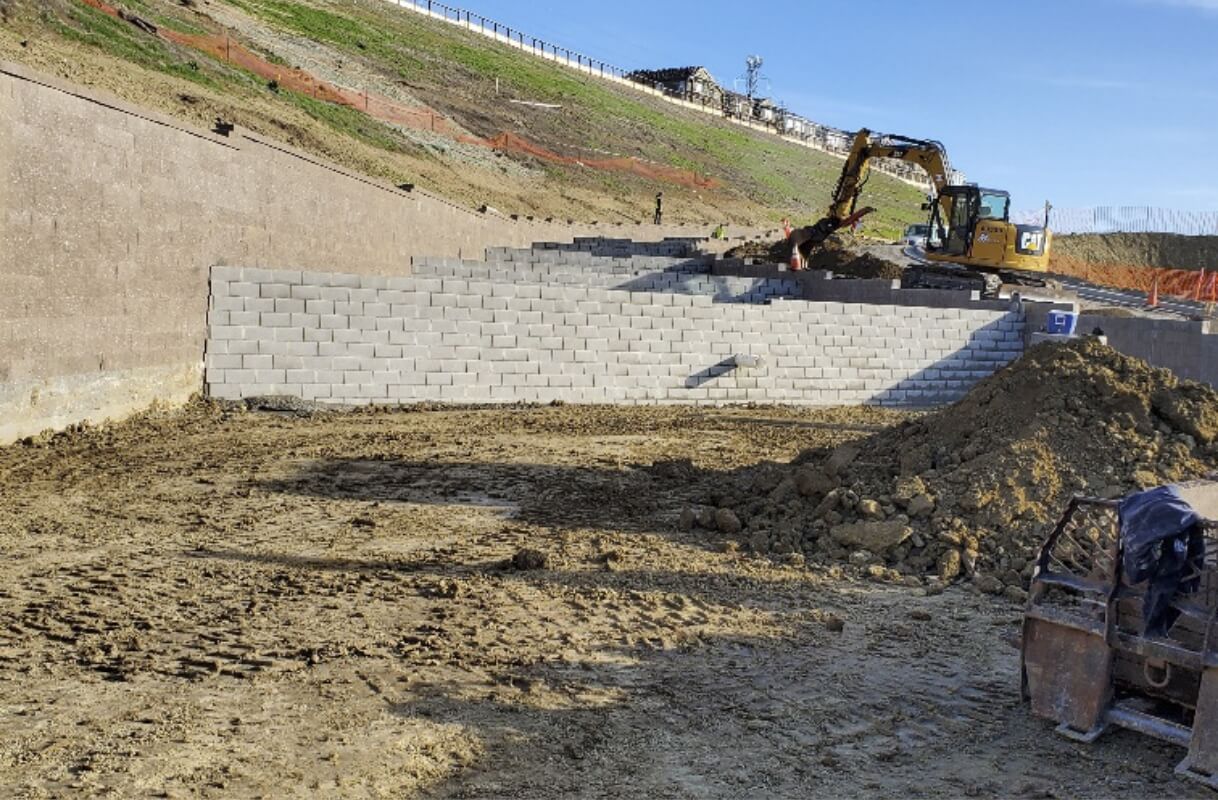
Excavation is important for making sure your wall has a solid base that doesn’t shift over time. Once the permits are approved, our team removes soil and rocks to prepare the surface where your wall will be built. Depending on the type of wall we are building, we may prepare a visible foundation, which may include laying gravel or compacted soil for stability. For complex sites with tight clearances or challenging soil conditions, we may drill to install underground foundational elements, such as anchors or tiebacks.
Estimated time: Varies
Step 5:
Installing Drainage
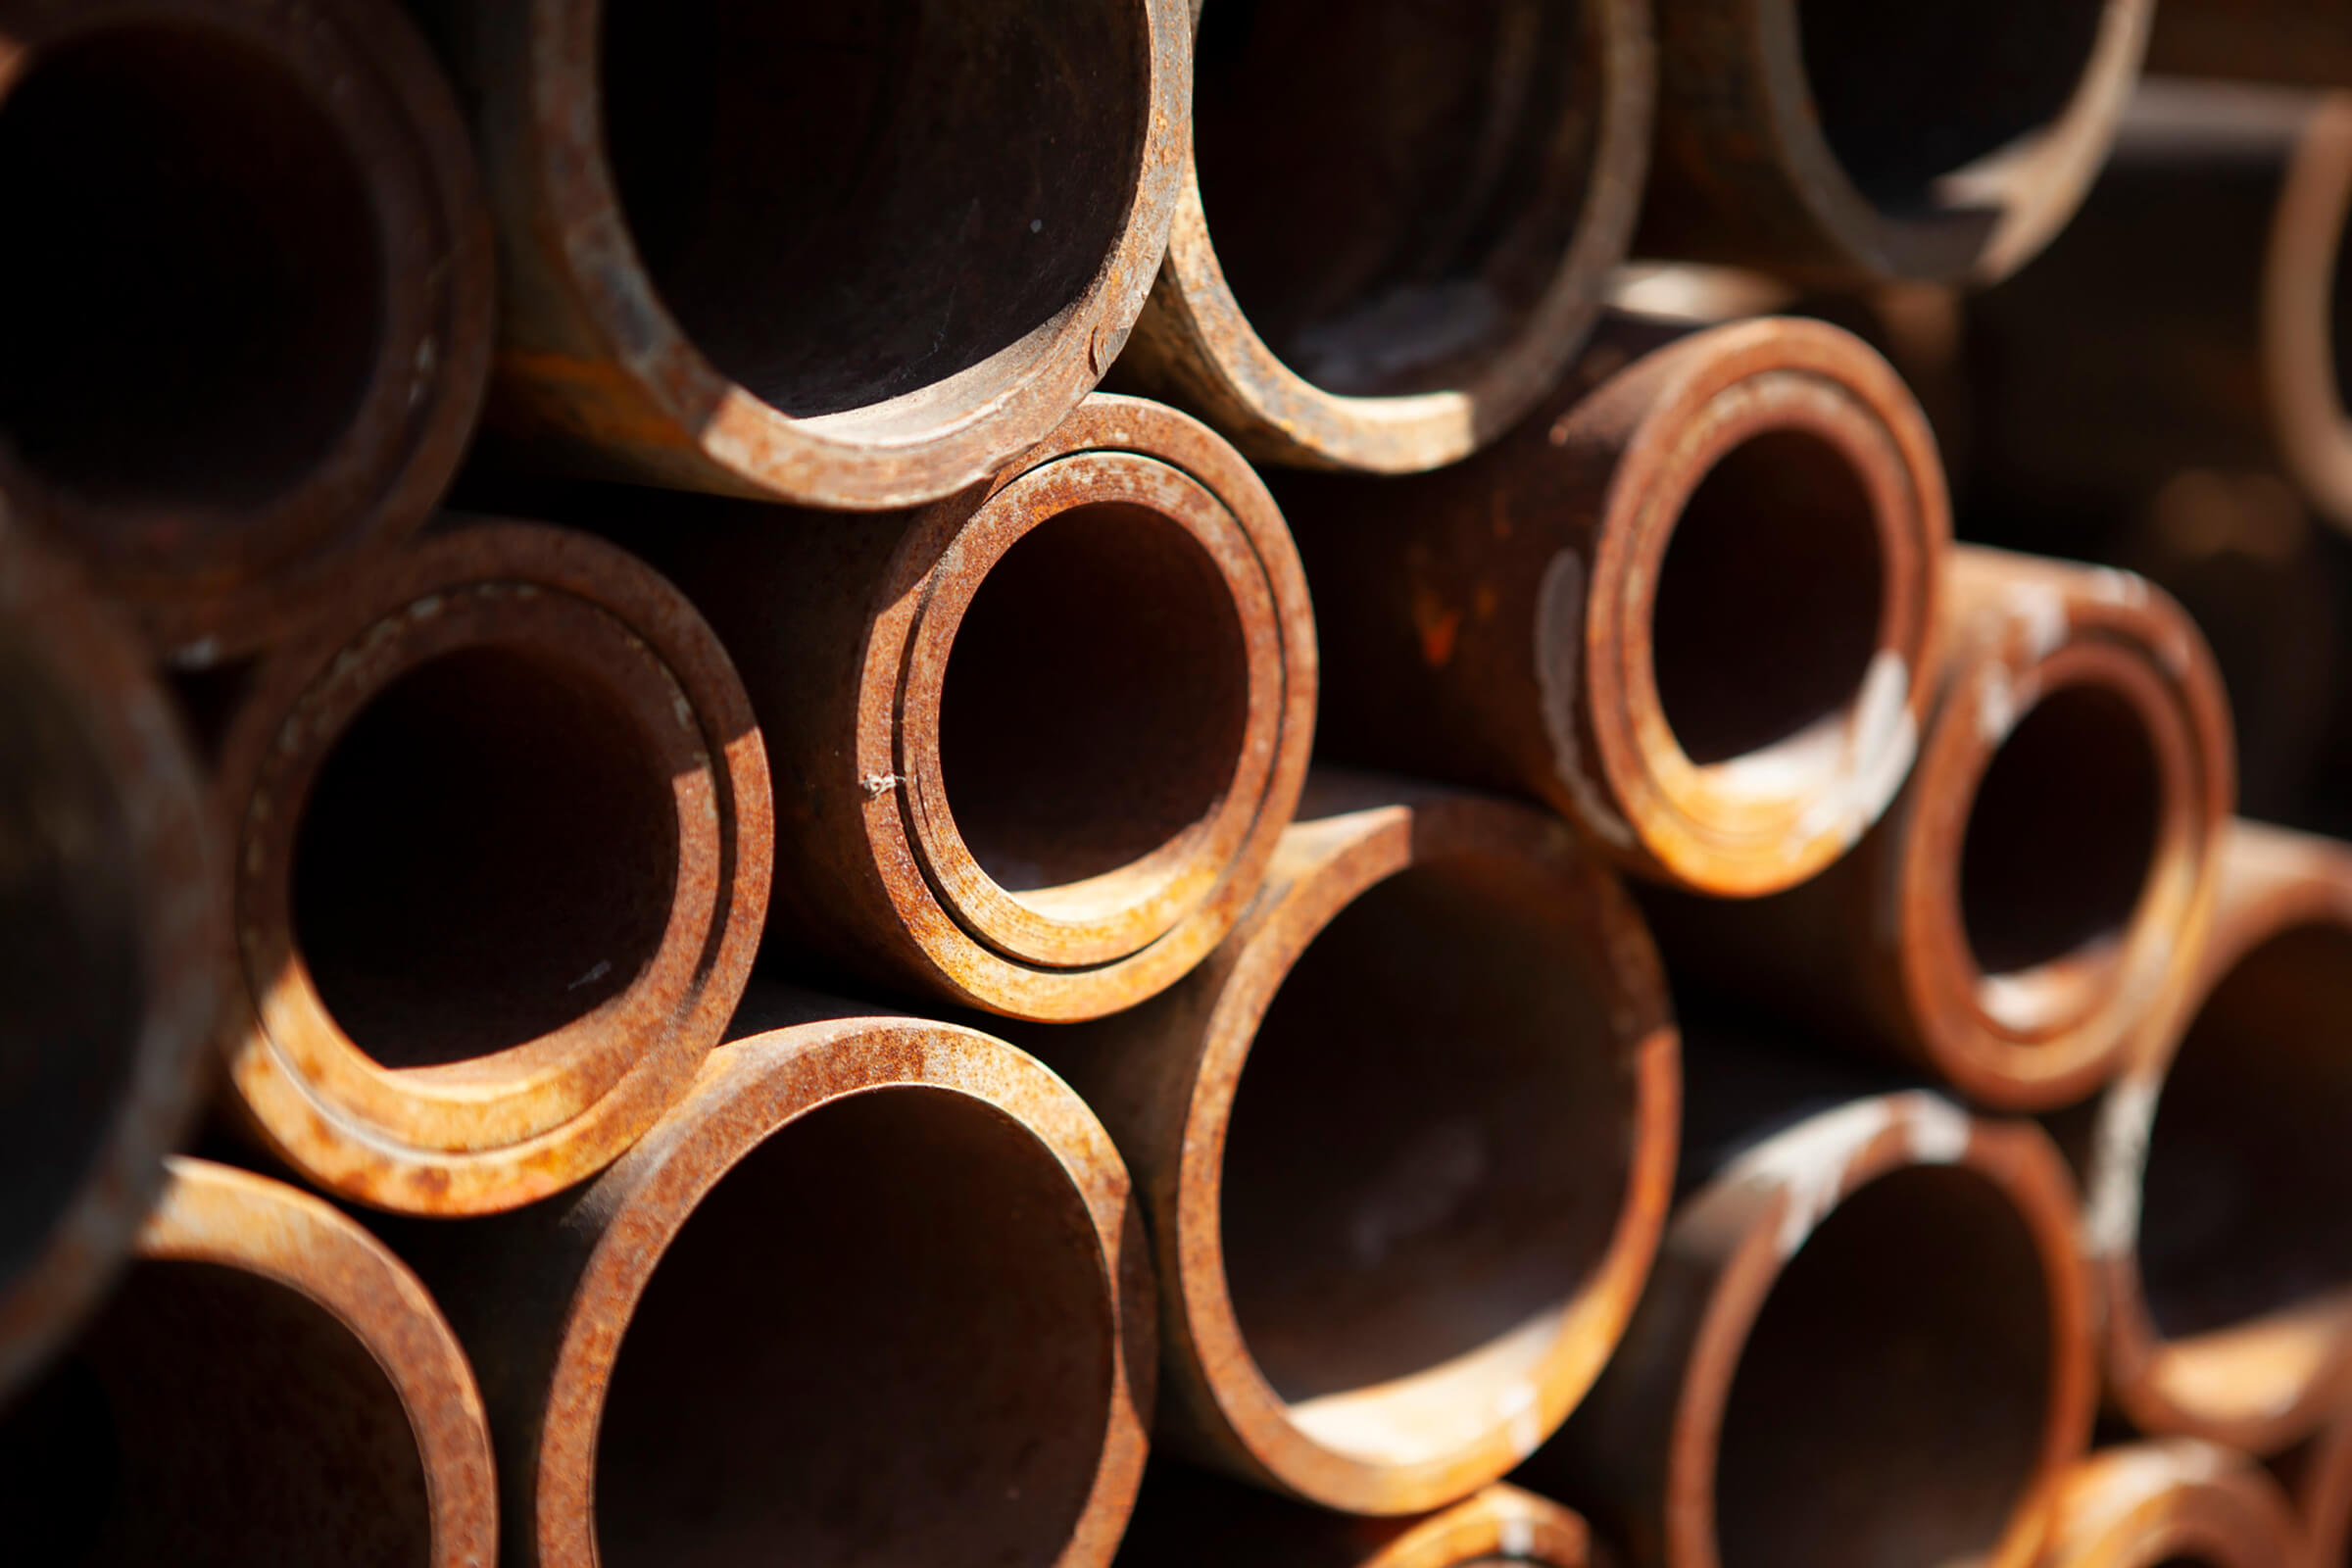
One of the most important elements of a retaining wall in the Bay Area is managing water drainage. Poor drainage can cause the wall to fail due to pressure buildup behind the structure. The contractor will typically install drainage pipes or weep holes to prevent water from pooling behind the wall. Gravel or other permeable materials may also be placed behind the wall to aid water flow.
Estimated time: Varies
Step 6:
Building the Wall
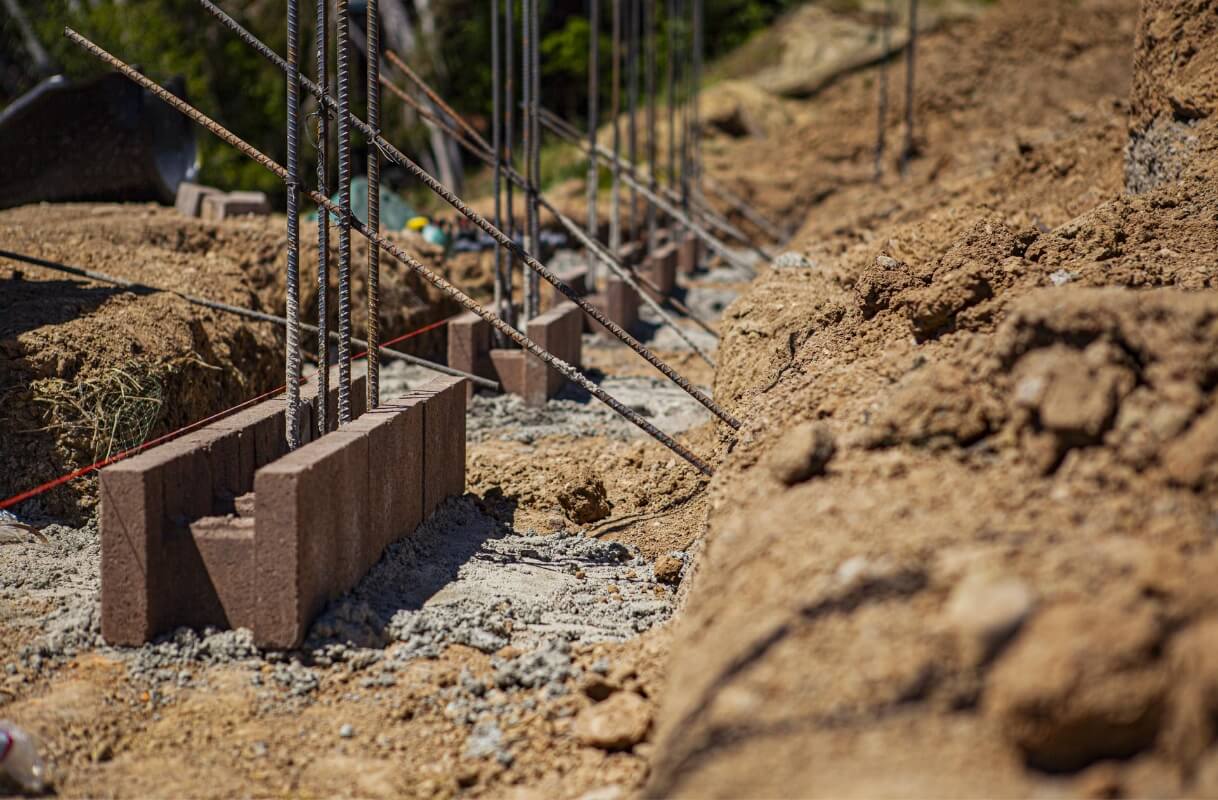
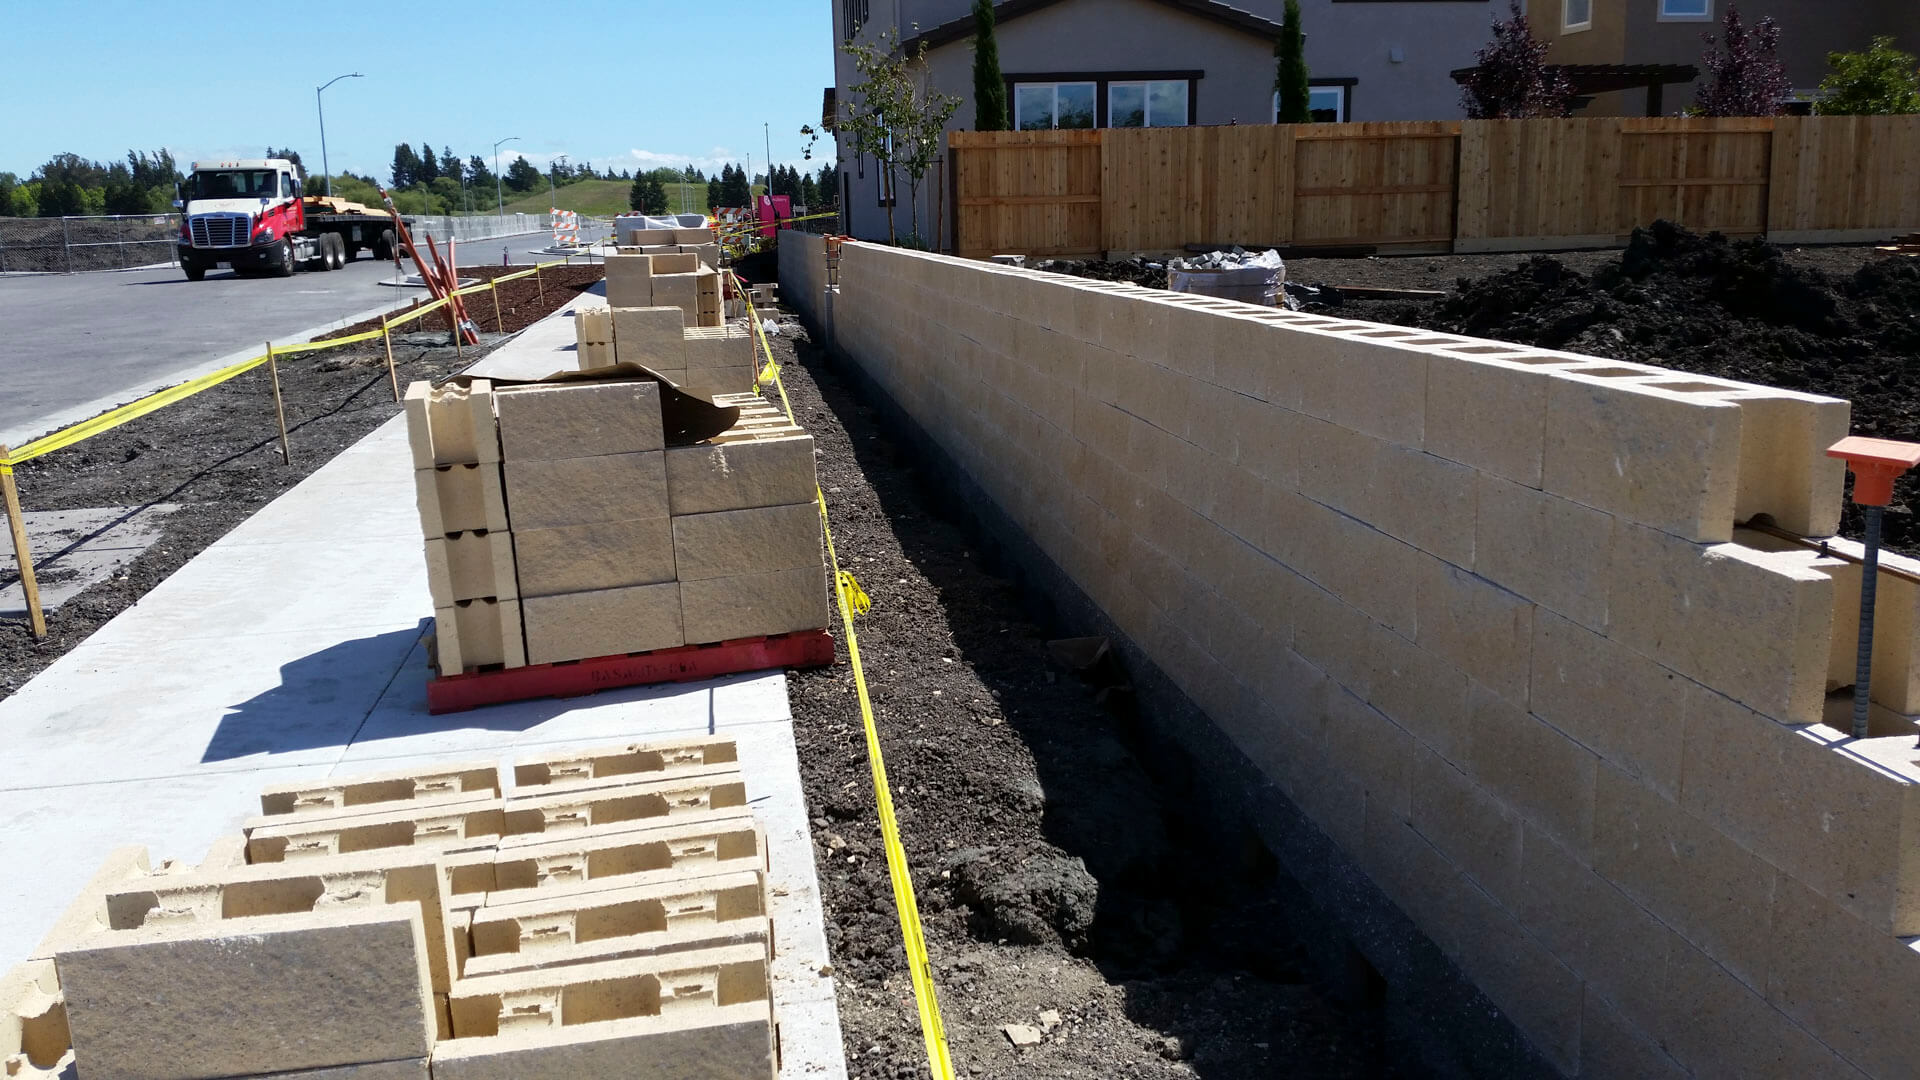
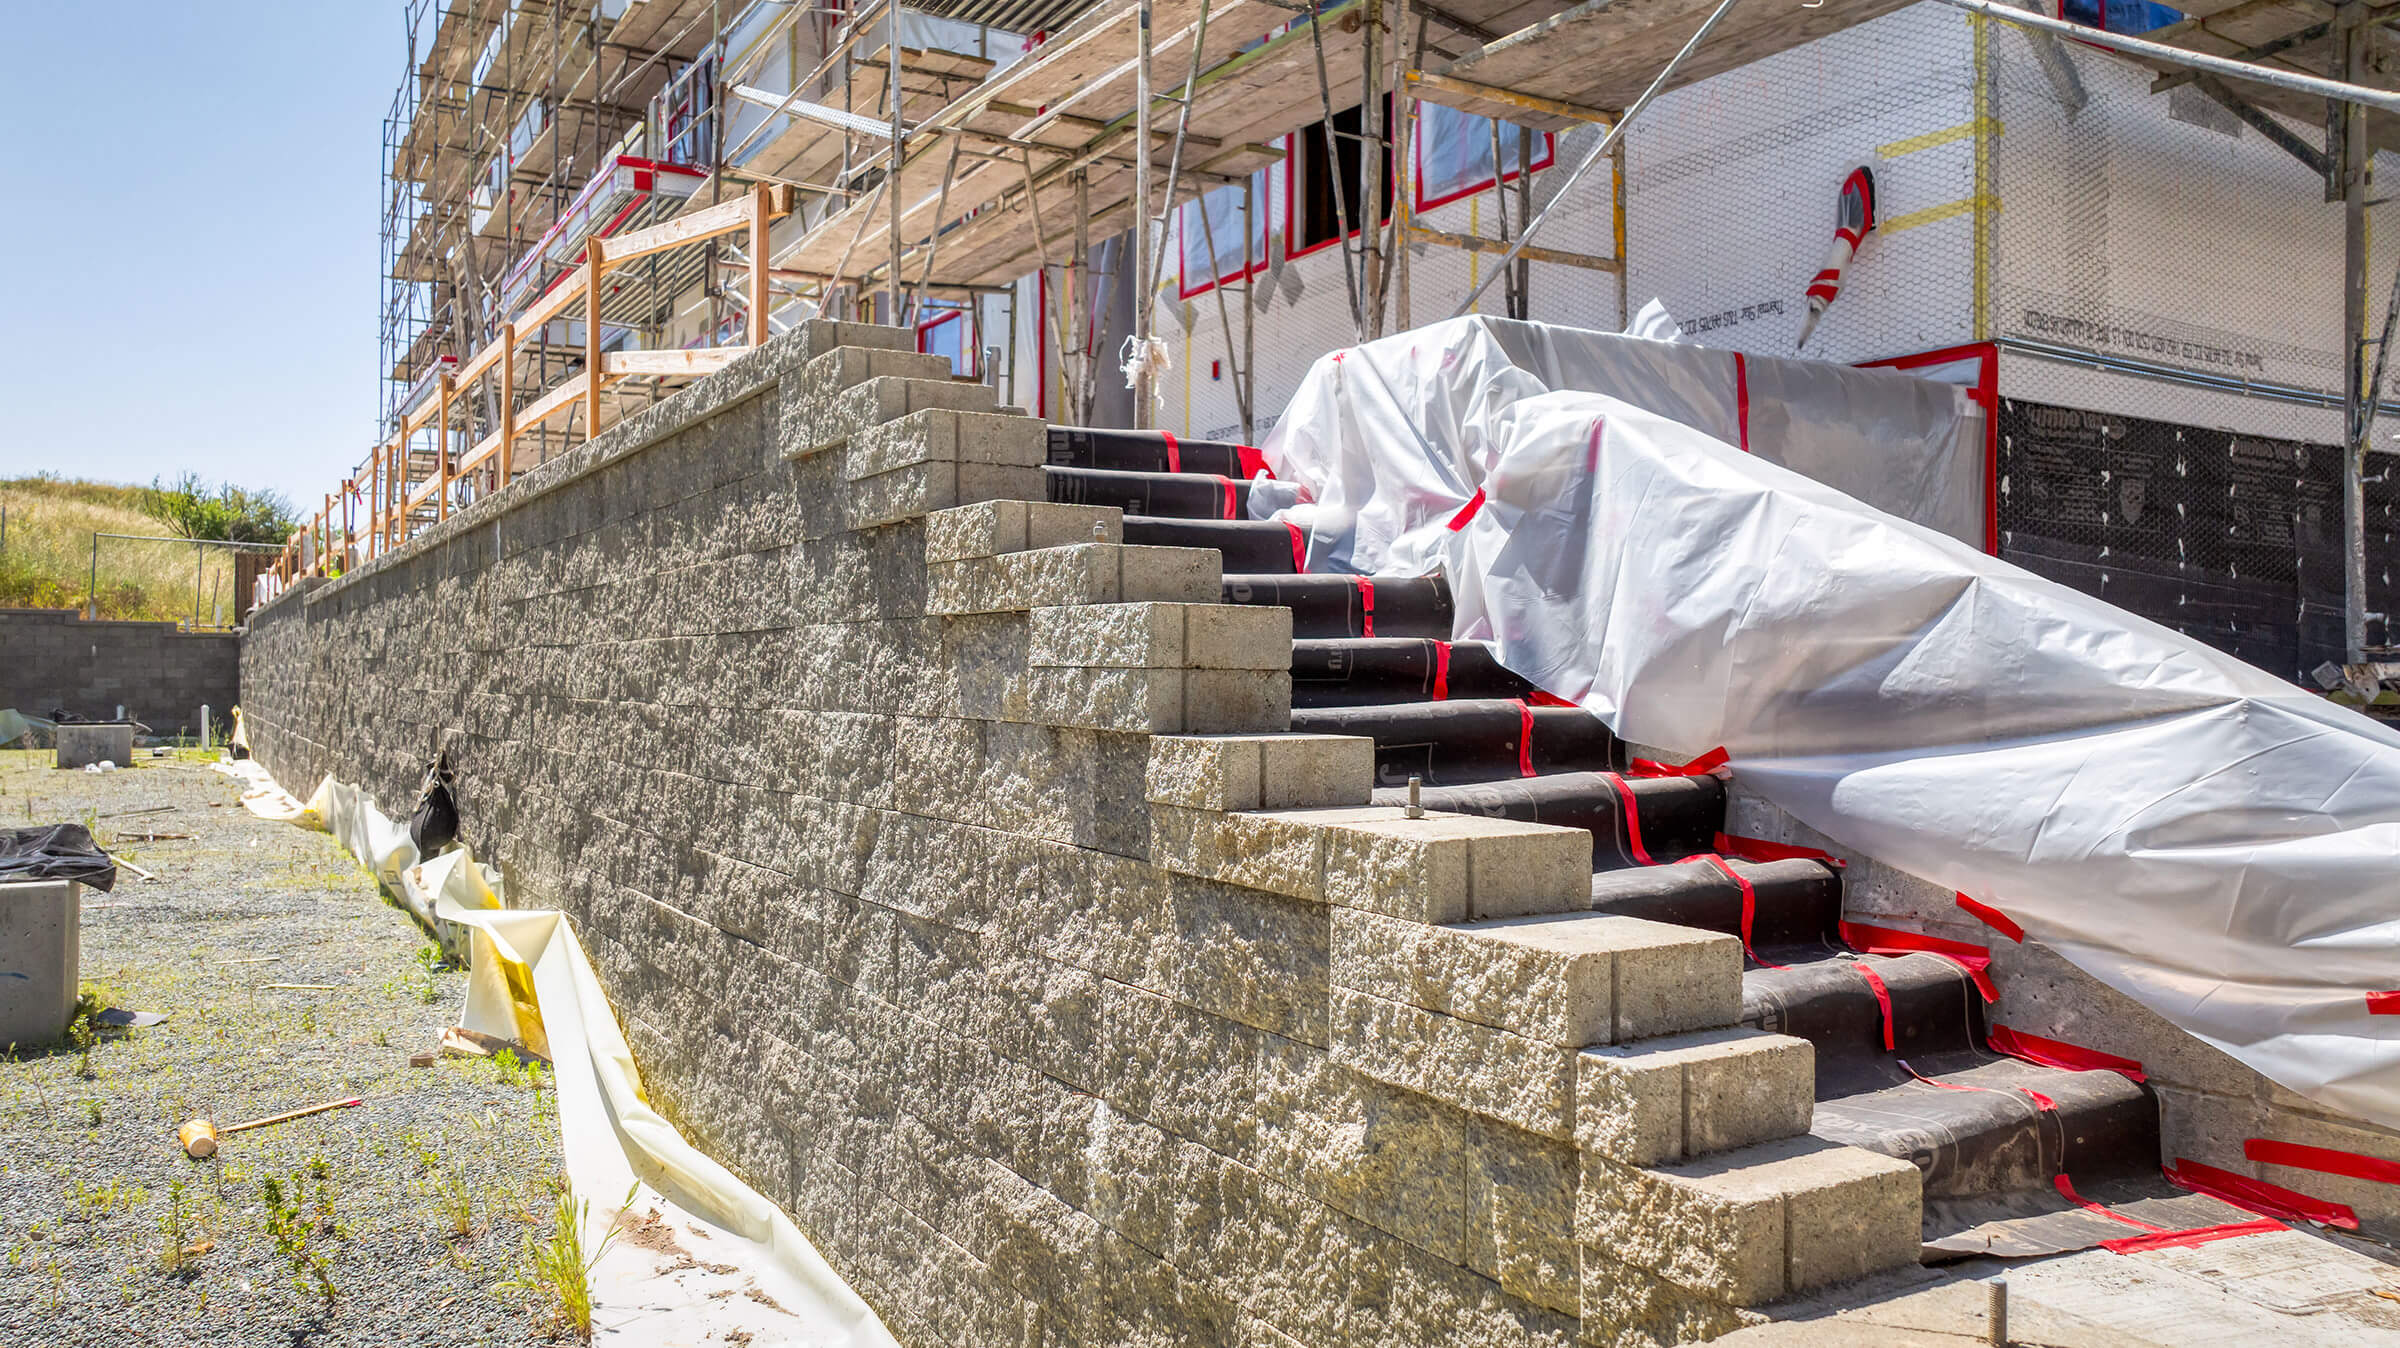
With the site prepared, the contractor will begin constructing the wall. This involves laying the base course (the first row of blocks or stones), which is crucial for the stability of the wall. Each subsequent layer is carefully leveled and aligned. If the wall is over a certain height, additional reinforcement, such as tie-backs or geo-grid systems, may be installed for extra support
Estimated time: 1-2 weeks
Step 7:
Finishing
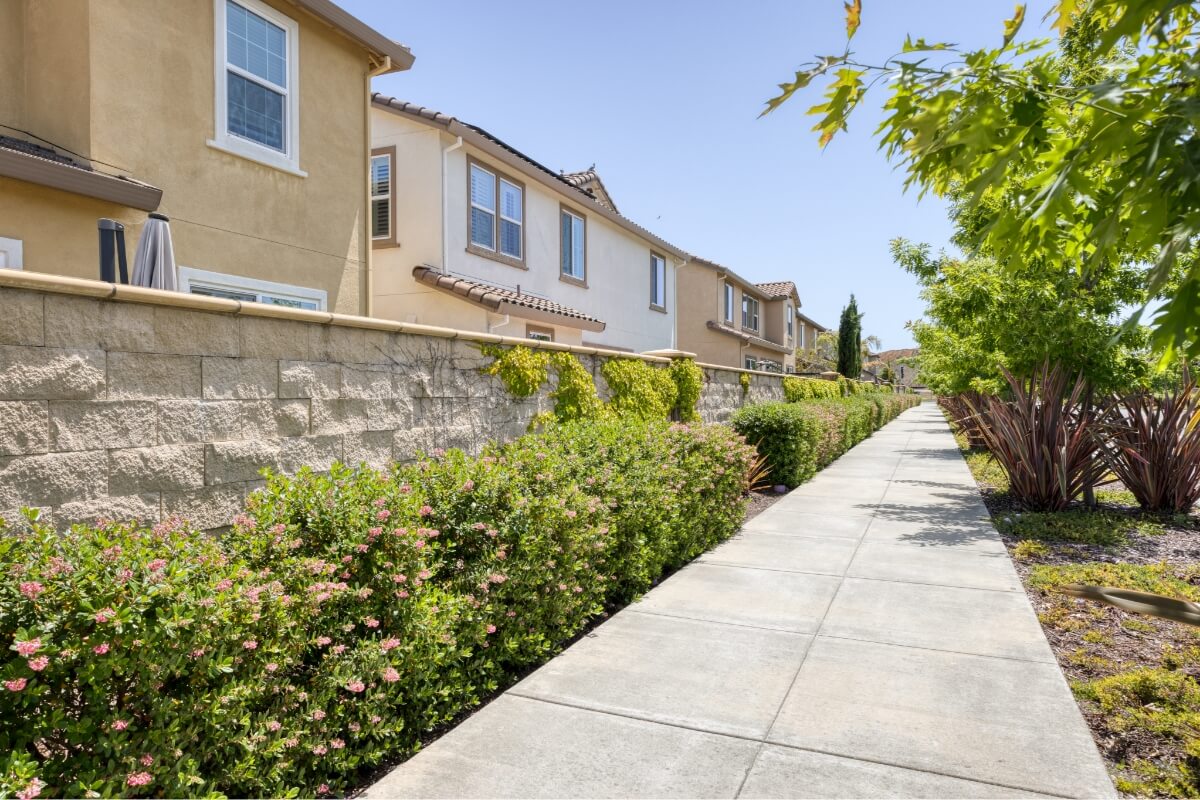
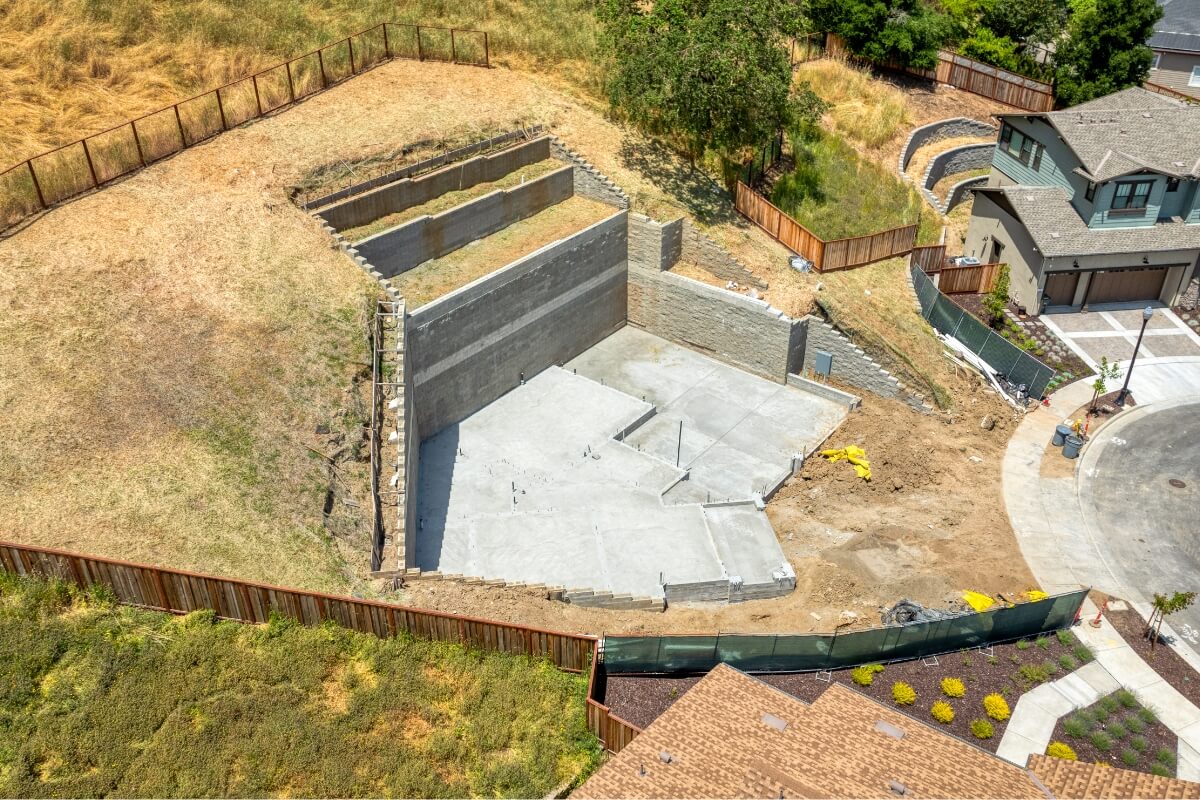
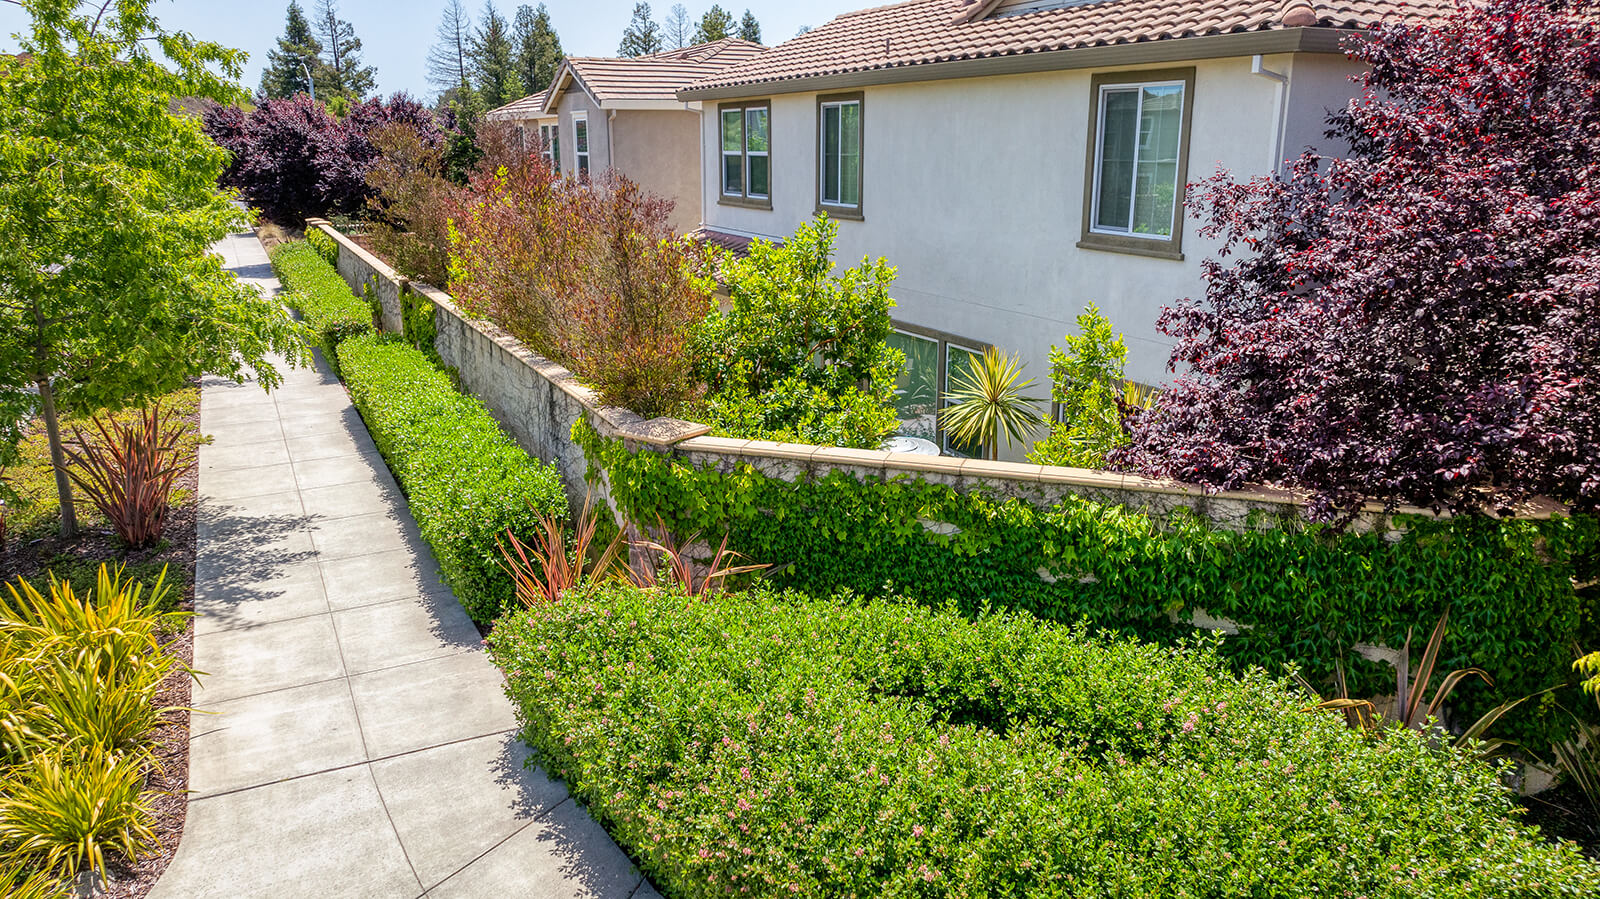
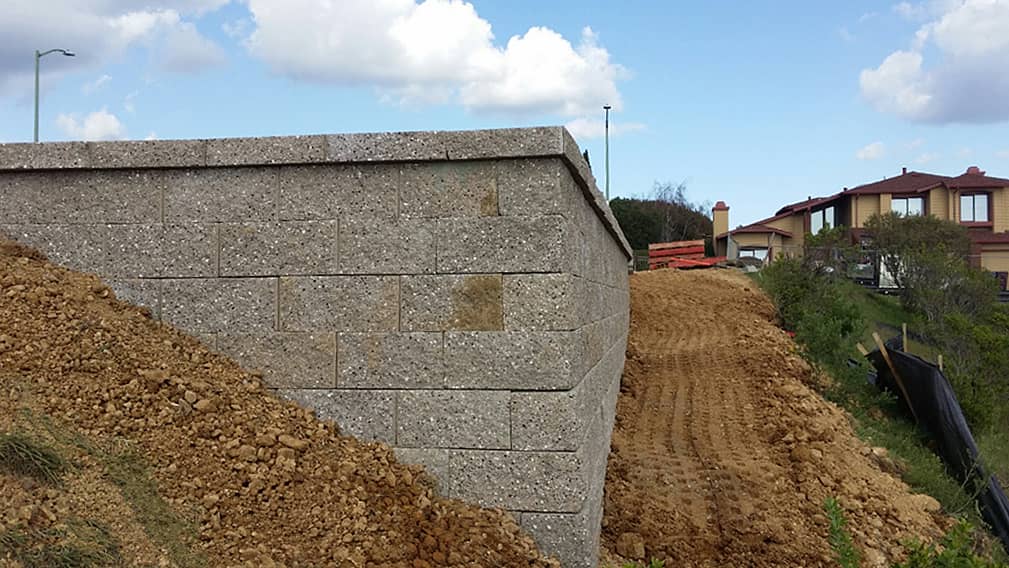
Once the wall is constructed, the contractor will finish by backfilling the area behind the wall with soil or gravel to secure it. If you opted for terracing, multiple walls will be built in tiers. Afterward, landscaping around the retaining wall, such as planting or adding decorative elements, can be completed. This step ensures the wall integrates seamlessly with the rest of your yard .
Estimated time: 1-3 days

Step 8:
Final Inspection & Maintenance Guidelines
After construction, the contractor will perform a final inspection to ensure the wall is sturdy and properly installed. They will provide you with maintenance guidelines, which typically include checking for cracks or shifting and ensuring the drainage system remains clear. Regular inspections will help your retaining wall last for decades .
Estimated time: 1 day
<div class="project-gallery-modal" data-post-id="173551780224">
<button class="project-gallery-modal-close button-close color-greyexlgt"><span class="sr-only">Close</span></button>
<div class="slick-pagination">
<button class="project-gallery-modal-prev slick-prev" tabindex="0">Prev</button>
<button class="project-gallery-modal-next slick-next" tabindex="0">Next</button>
</div>
<div class="project-gallery-modal-carousel">
<div class="slide" data-index="0"><img src="https://calwalls.com/wp-content/uploads/2024/11/step1.jpg" alt="consultation" data-skip-lazy /></div>
<h2 class="h3">Step 1:</h2><p></p>
<h3 class="h4">Initial Consultation & Site Assessment</h3>
<p>The first step is scheduling a consultation with our retaining wall experts. They will discuss your needs and concerns — whether you're aiming to prevent erosion, create level ground for landscaping, or simply enhance the aesthetic appeal of your yard. They will also visit your property to assess the site conditions, such as the slope of your yard, soil type, drainage patterns, and any existing structures.</p>
<p><span class="color-blue estimated">Estimated time: 1–2 weeks</span></p>
<div class="slide" data-index="1"><img src="https://calwalls.com/wp-content/uploads/2024/11/step2.jpg" alt="looking at blueprints" data-skip-lazy /></div>
<h2 class="h3">Step 2:</h2><p></p>
<h3 class="h4">Design & Planning</h3>
<p>Our team can create a retaining wall design based on your goals and the site assessment, including the most effective type of wall construction, dimensions, and materials. Due to Bay Area weather and soil conditions, professional design and planning are crucial for ensuring the durability of your wall.</p>
<p><span class="color-blue estimated">Estimated time: 1–2 weeks</span></p>
<div class="slide" data-index="2"><img src="https://calwalls.com/wp-content/uploads/2024/11/shutterstock_2224559175.jpg" alt="permits" data-skip-lazy /></div>
<h2 class="h3">Step 3:</h2><p></p>
<h3 class="h4">Permits & Approvals</h3>
<p>Our team of experts can handle this complex step to ensure that your project meets local zoning and environmental regulations and complies with local building codes. In California, retaining walls typically require a building permit if it exceeds a certain height, will be placed near property boundaries, and other restrictions. The permitting process involves submitting the design plan to the local authority, and there may be a brief waiting period for approval .</p>
<p><span class="color-blue estimated">Estimated time: Varies</span></p>
<div class="slide" data-index="3"><img src="https://calwalls.com/wp-content/uploads/2024/11/space1.jpg" alt="maximize space" data-skip-lazy /></div>
<h2 class="h3">Step 4:</h2><p></p>
<h3 class="h4">Excavation & Site Preparation</h3>
<p>Excavation is important for making sure your wall has a solid base that doesn’t shift over time. Once the permits are approved, our team removes soil and rocks to prepare the surface where your wall will be built. Depending on the type of wall we are building, we may prepare a visible foundation, which may include laying gravel or compacted soil for stability. For complex sites with tight clearances or challenging soil conditions, we may drill to install underground foundational elements, such as anchors or tiebacks.</p>
<p><span class="color-blue estimated">Estimated time: Varies</span></p>
<div class="slide" data-index="4"><img src="https://calwalls.com/wp-content/uploads/2023/01/calwalls_ersted-jobsite-0616.jpg" alt="Ersted job site" data-skip-lazy /></div>
<h2 class="h3">Step 5:</h2><p></p>
<h3 class="h4">Installing Drainage</h3>
<p>One of the most important elements of a retaining wall in the Bay Area is managing water drainage. Poor drainage can cause the wall to fail due to pressure buildup behind the structure. The contractor will typically install drainage pipes or weep holes to prevent water from pooling behind the wall. Gravel or other permeable materials may also be placed behind the wall to aid water flow.</p>
<p><span class="color-blue estimated">Estimated time: Varies</span></p>
<div class="slide" data-index="5"><img src="https://calwalls.com/wp-content/uploads/2024/07/Mizra-19.jpg" alt="SoMi Affordable Housing Development" data-skip-lazy /></div>
<h2 class="h3">Step 6:</h2><p></p>
<h3 class="h4">Building the Wall</h3>
<p>With the site prepared, the contractor will begin constructing the wall. This involves laying the base course (the first row of blocks or stones), which is crucial for the stability of the wall. Each subsequent layer is carefully leveled and aligned. If the wall is over a certain height, additional reinforcement, such as tie-backs or geo-grid systems, may be installed for extra support </p>
<p><span class="color-blue estimated">Estimated time: 1-2 weeks</span></p>
<div class="slide" data-index="6"><img src="https://calwalls.com/wp-content/uploads/2024/02/04-min.jpg" alt="Bellevue custom homes" data-skip-lazy /></div>
<h2 class="h3">Step 7:</h2><p></p>
<h3 class="h4">Finishing</h3>
<p>Once the wall is constructed, the contractor will finish by backfilling the area behind the wall with soil or gravel to secure it. If you opted for terracing, multiple walls will be built in tiers. Afterward, landscaping around the retaining wall, such as planting or adding decorative elements, can be completed. This step ensures the wall integrates seamlessly with the rest of your yard .</p>
<p><span class="color-blue estimated">Estimated time: 1-3 days</span></p>
<div class="slide" data-index="7"><img src="https://calwalls.com/wp-content/uploads/2024/11/shutterstock_2176913209.jpg" alt="inspection" data-skip-lazy /></div>
<h2 class="h3">Step 8:</h2><p></p>
<h3 class="h4">Final Inspection & Maintenance Guidelines</h3>
<p>After construction, the contractor will perform a final inspection to ensure the wall is sturdy and properly installed. They will provide you with maintenance guidelines, which typically include checking for cracks or shifting and ensuring the drainage system remains clear. Regular inspections will help your retaining wall last for decades .</p>
<p><span class="color-blue estimated">Estimated time: 1 day</span></p>
</div>
<div class="project-gallery-modal-pagination">
<div class="thumbnail-slide" data-index="0"><img src="https://calwalls.com/wp-content/uploads/2024/11/step1.jpg" alt="consultation" data-skip-lazy /></div>
<h2 class="h3">Step 1:</h2><p></p>
<h3 class="h4">Initial Consultation & Site Assessment</h3>
<p>The first step is scheduling a consultation with our retaining wall experts. They will discuss your needs and concerns — whether you're aiming to prevent erosion, create level ground for landscaping, or simply enhance the aesthetic appeal of your yard. They will also visit your property to assess the site conditions, such as the slope of your yard, soil type, drainage patterns, and any existing structures.</p>
<p><span class="color-blue estimated">Estimated time: 1–2 weeks</span></p>
<div class="thumbnail-slide" data-index="1"><img src="https://calwalls.com/wp-content/uploads/2024/11/step2.jpg" alt="looking at blueprints" data-skip-lazy /></div>
<h2 class="h3">Step 2:</h2><p></p>
<h3 class="h4">Design & Planning</h3>
<p>Our team can create a retaining wall design based on your goals and the site assessment, including the most effective type of wall construction, dimensions, and materials. Due to Bay Area weather and soil conditions, professional design and planning are crucial for ensuring the durability of your wall.</p>
<p><span class="color-blue estimated">Estimated time: 1–2 weeks</span></p>
<div class="thumbnail-slide" data-index="2"><img src="https://calwalls.com/wp-content/uploads/2024/11/shutterstock_2224559175.jpg" alt="permits" data-skip-lazy /></div>
<h2 class="h3">Step 3:</h2><p></p>
<h3 class="h4">Permits & Approvals</h3>
<p>Our team of experts can handle this complex step to ensure that your project meets local zoning and environmental regulations and complies with local building codes. In California, retaining walls typically require a building permit if it exceeds a certain height, will be placed near property boundaries, and other restrictions. The permitting process involves submitting the design plan to the local authority, and there may be a brief waiting period for approval .</p>
<p><span class="color-blue estimated">Estimated time: Varies</span></p>
<div class="thumbnail-slide" data-index="3"><img src="https://calwalls.com/wp-content/uploads/2024/11/space1.jpg" alt="maximize space" data-skip-lazy /></div>
<h2 class="h3">Step 4:</h2><p></p>
<h3 class="h4">Excavation & Site Preparation</h3>
<p>Excavation is important for making sure your wall has a solid base that doesn’t shift over time. Once the permits are approved, our team removes soil and rocks to prepare the surface where your wall will be built. Depending on the type of wall we are building, we may prepare a visible foundation, which may include laying gravel or compacted soil for stability. For complex sites with tight clearances or challenging soil conditions, we may drill to install underground foundational elements, such as anchors or tiebacks.</p>
<p><span class="color-blue estimated">Estimated time: Varies</span></p>
<div class="thumbnail-slide" data-index="4"><img src="https://calwalls.com/wp-content/uploads/2023/01/calwalls_ersted-jobsite-0616.jpg" alt="Ersted job site" data-skip-lazy /></div>
<h2 class="h3">Step 5:</h2><p></p>
<h3 class="h4">Installing Drainage</h3>
<p>One of the most important elements of a retaining wall in the Bay Area is managing water drainage. Poor drainage can cause the wall to fail due to pressure buildup behind the structure. The contractor will typically install drainage pipes or weep holes to prevent water from pooling behind the wall. Gravel or other permeable materials may also be placed behind the wall to aid water flow.</p>
<p><span class="color-blue estimated">Estimated time: Varies</span></p>
<div class="thumbnail-slide" data-index="5"><img src="https://calwalls.com/wp-content/uploads/2024/07/Mizra-19.jpg" alt="SoMi Affordable Housing Development" data-skip-lazy /></div>
<h2 class="h3">Step 6:</h2><p></p>
<h3 class="h4">Building the Wall</h3>
<p>With the site prepared, the contractor will begin constructing the wall. This involves laying the base course (the first row of blocks or stones), which is crucial for the stability of the wall. Each subsequent layer is carefully leveled and aligned. If the wall is over a certain height, additional reinforcement, such as tie-backs or geo-grid systems, may be installed for extra support </p>
<p><span class="color-blue estimated">Estimated time: 1-2 weeks</span></p>
<div class="thumbnail-slide" data-index="6"><img src="https://calwalls.com/wp-content/uploads/2024/02/04-min.jpg" alt="Bellevue custom homes" data-skip-lazy /></div>
<h2 class="h3">Step 7:</h2><p></p>
<h3 class="h4">Finishing</h3>
<p>Once the wall is constructed, the contractor will finish by backfilling the area behind the wall with soil or gravel to secure it. If you opted for terracing, multiple walls will be built in tiers. Afterward, landscaping around the retaining wall, such as planting or adding decorative elements, can be completed. This step ensures the wall integrates seamlessly with the rest of your yard .</p>
<p><span class="color-blue estimated">Estimated time: 1-3 days</span></p>
<div class="thumbnail-slide" data-index="7"><img src="https://calwalls.com/wp-content/uploads/2024/11/shutterstock_2176913209.jpg" alt="inspection" data-skip-lazy /></div>
<h2 class="h3">Step 8:</h2><p></p>
<h3 class="h4">Final Inspection & Maintenance Guidelines</h3>
<p>After construction, the contractor will perform a final inspection to ensure the wall is sturdy and properly installed. They will provide you with maintenance guidelines, which typically include checking for cracks or shifting and ensuring the drainage system remains clear. Regular inspections will help your retaining wall last for decades .</p>
<p><span class="color-blue estimated">Estimated time: 1 day</span></p>
</div>
</div>

